 I have to admit my addiction – this one’s even worse than concrete. It started innocently enough, with a shelf across my living room bay window, so I could keep my few orchids and other plants well out of reach of these two guys:
And the shelf with the plants on it looked nice too, in spite of the chewed wood trim around the windows:
But the strange thing about orchids, especially after you figure out how to keep them alive and blooming over and over, is that you can’t have just one. Or ten for that matter.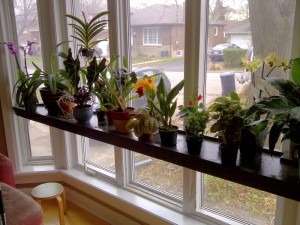
So one day, when I had a bit of time to look online for all sorts of info on how to keep things green side up, I came across some articles on living walls and how they tend to not live for very long. The usual design of a living wall is a dead giveaway (pun intended) for their inevitable demise – a 1/4″ thick vinyl sheet attached to a wall, a sheet of open cell foam covering the vinyl, plants stuck through holes in the foam, water continually pouring between the vinyl and the foam, keeping the roots perpetually wet. This is a recipe for growing every possible type of fungus, and not much else.
And this got me thinking – what if I created a self-contained structure with some air space between the plant roots and the waterproof sheet attached to the wall. And what if instead of pouring water on the roots, I used a timed misting system to keep the air inside the wall at 100% humidity, but allow the roots to breathe. This system would be a hybrid of hydroponic and aeroponic cultivation, and orchids happen to be the second best candidates for it.
I also decided to place this living wall in a rather inhospitable spot in my house – far enough away from a window that artificial light would be required for any kind of growth. This spot is in my living room, with a hardwood floor underneath, and no drainage of any kind. I needed to make this system completely self-contained and suitable for any indoor environment. The space was 30.5″ wide, so I decided to make this structure 48″ high x 30″ wide x 5″ deep on the outside, which allowed a 4″ gap between the front and back surfaces. Top and bottom are open, but at the bottom I cast narrow rails on which I will place a stainless steel basin, the reservoir for the misting water. I also cast in a drip edge on the inside, about 1″ above the top of the basin. Here is what the living wall looked like in the form:
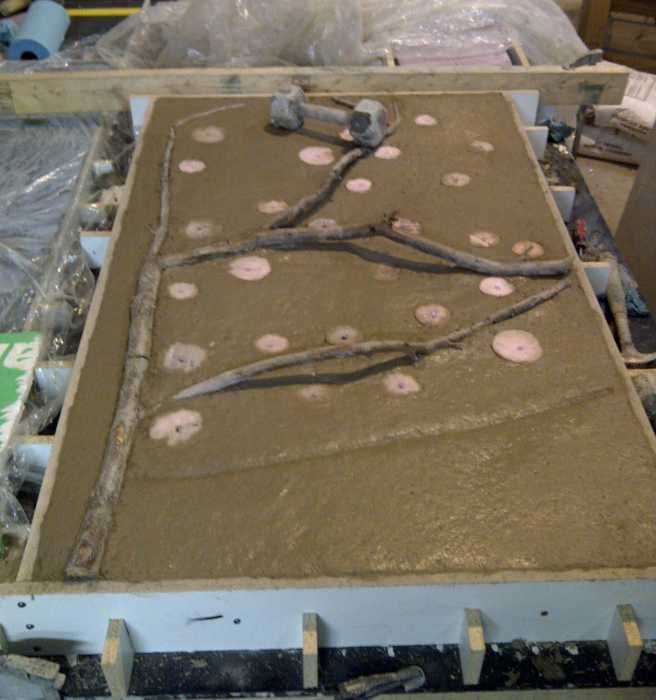
The tree branch is for decoration only, but who knows – maybe some of the orchids will want to start growing on it, like they do in the wild. Unfortunately, I didn’t get a chance to take a picture of the 4″ thick foam core, buried inside the structure.
My biggest mistake so far has been to create the knockouts in the wall prior to buying the plants. I thought that 2″ net pots would be sufficient for the orchid seedlings I was planning to use, but after I got the seedlings, it was very obvious that they would need more space. Most of the holes in the front surface had to be enlarged to 3″ just before we unmolded the piece, and it was a very tedious task.
Removing the interior styrofoam took over a gallon of acetone. The foam was low density white, covered with vinyl film, so it was easier than if it had bonded to the concrete, but it still took almost 2 hours to get everything cleaned out. The interior drip edge molded well on 3 surfaces, but on the back, with gravity working against us, it will need to be augmented with a metal strip.
All surfaces, inside and out, were sealed with the new modified CH Prep. We had to use a long-handed windshield brush with a microfibre cloth wrapped around it to get the inside surfaces. The inside had to be sealed in order to drop the pH of the material from around 11 to under 8. The misting water will be adjusted to a pH of 6 during operation. I have yet to apply Set to the prepped surfaces. I don’t plan to use Seal.
To mount the living wall, I didn’t want to use brackets underneath it, so I made a little cubby shelf unit to act as support, and added spacers for airflow. Here is what it looks like installed:
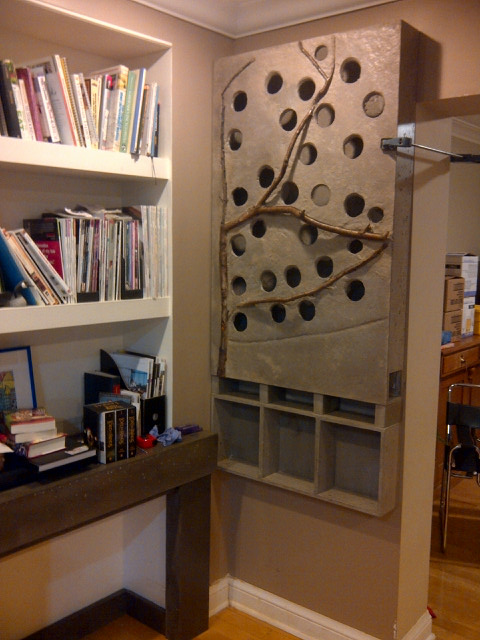
And another view:
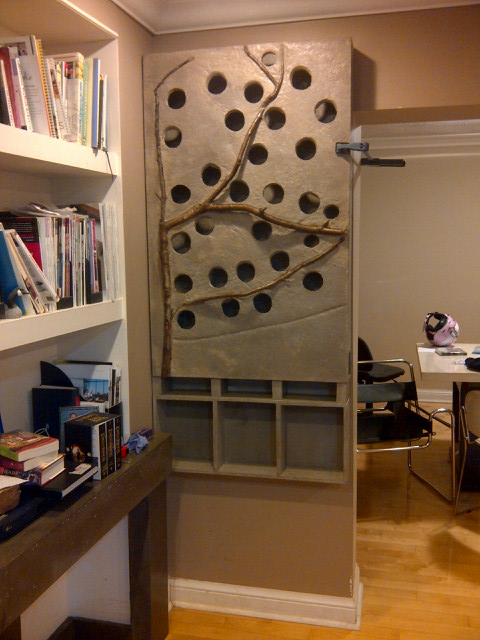
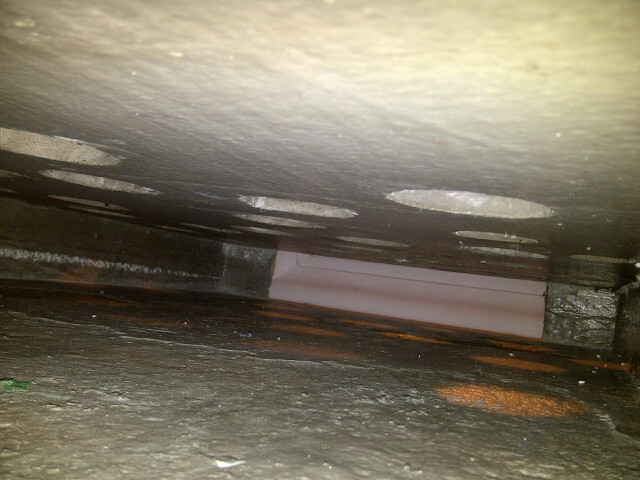
And looking up from the inside:
I’m still waiting for the basin (custom-made stainless steel) and the special LED grow lights, and then I can start planting. More to come.
How many rabbits have been raised?